
Add Analytics to Your Hugo Site with Umami

I have been experimenting with website development and Hugo for sometime. It would be nice to see which posts are being viewed. Since this is a hobby site for me (non-commercial), I don’t want to pay for a commercial, third party service to track my website usage. I wanted to find a simple, self-hosted solution that provides basic analytic data. I am using a managed VPS that allows root access. They installed Docker for me, which is required for the Umami solution that I am using.
Umami is the solution that I settled on. It was very easy to install with Docker, and it was easy to integrate with my Hugo website. They do provide a Umami Cloud high-performance service which is free for up to 100K “events” per month. Or you can pay $20/month for up to 1 million events per month (please check their website for current pricing). They also provide detailed documentation for the self-hosted option.
Here are my notes for setting up a self-hosted instance of Umami on a managed VPS that supports Docker.
sudo to execute Docker commands. I tried using Docker with a different VPS that did not provide root access. I had issues with using “rootless” Docker. That VPS company no longer supports using Docker on their managed VPS servers.
Set Up Your Environment
You need to ensure that docker and docker compose is working on your host. There are many excellent Docker tutorials on the net, so I will not cover the details of installing and using it. My VPS support group installed Docker for me. You can refer to the Docker Docs to get started. After Docker is installed, you can run:
sudo docker run hello-worldto verify your installation. There’s a lot of output, especially the first time you run hello-world as it has to download the image. You want to see This message shows that your installation appears to be working correctly.
Next, you need to configure a subdomain, such as umami.example.com, to host your commenting system. I enabled “https” and a
reverse proxy
on my umami subdomain. My VPS support group configured the reverse proxy for me. The reverse proxy maps to http://localhost:3000.
Install the Umami Docker Image
You are going to use
docker compose
to install and manage your Umami analytics system (don’t use docker-compose). Run the following command to verify that docker compose is installed and working:
docker compose version
The output should show the installed Docker Compose version. As of this writing, I am running version 5.3.0.
Next, in my umami subdomain root, I created a docker-compose.yml file that defines my Umami Docker configuration. It actually defines two services, the umami service and a postgres DB service where the analytics data is stored.
Here’s what my docker-compose.yml looks like:
---
services:
  umami:
    image: ghcr.io/umami-software/umami:latest
    container_name: "umami"
    hostname: "umami"
    ports:
      - "127.0.0.1:3000:3000"
    environment:
      DATABASE_URL: postgresql://umami:My-DB-Password@db:5432/umami
      APP_SECRET: My-very-long-random-string
    depends_on:
      db:
        condition: service_healthy
    networks:
      - umami
    init: true
    restart: always
    healthcheck:
      test: ["CMD-SHELL", "curl http://localhost:3000/api/heartbeat"]
      interval: 5s
      timeout: 5s
      retries: 5

  db:
    image: postgres:15-alpine
    container_name: "umami_db"
    hostname: "umami_db"
    environment:
      POSTGRES_DB: umami
      POSTGRES_USER: umami
      POSTGRES_PASSWORD: My-DB-Password
    volumes:
      - umami-db:/var/lib/postgresql/data
    networks:
      - umami
    restart: always
    healthcheck:
      test: ["CMD-SHELL", "pg_isready -U $${POSTGRES_USER} -d $${POSTGRES_DB}"]
      interval: 5s
      timeout: 5s
      retries: 5

volumes:
  umami-db:
    name: umami-db

networks:
  umami:
    name: umami
You can use your favorite tool to generate “a long, hard to guess random string” for the APP_SECRET and POSTGRES_PASSWORD. On macOS, I like using the Homebrew pwgen tool:
pwgen -s 64 1
H8qRx8F8UnypUqTU8zep8UJFH5KSm6DQHTGSCBwonilj5kSXpzzn5SfqIPAay1JQ
Docker creates volume data under non-user ownership. I discovered this when I was experimenting with “rootless” Docker and using the example configuration file. I could not delete the example volume bind-mounted data because I did not have root access. I had to contact support and ask them to delete the data for me. When using the named volume mode, you can use docker compose commands to manage the volume data, including deleting it if you need to. This Umami docker compose configuration file defines and uses a named umami-db volume to store the analytics data.
You can adjust the string length (64) as desired.
For the database username and password used for the DATABASE_URL in the umami services section, be sure to use the same username and password that is defined in the postgres db services section.
The “ports” definition allows access to the Umami instance on the local host, including the reverse proxy. But it blocks access from an external IP.
Once this is all set up, you are ready to pull down the Umami and Postgres images. Be sure to be in the same directory as your docker-compose.yml configuration file. I placed mine in the umami.example.com root directory. Run the docker compose pull command:
sudo docker compose pull
You may be prompted for your sudo password. Your output will look like:
[sudo] password for apcom:
[+] pull 33/33
 ✔ Image postgres:15-alpine                  Pulled                  48.7s
 ✔ Image ghcr.io/umami-software/umami:latest Pulled                  55.3s
You will see it downloading each image, extracting, and then updating the pull status to complete.
You can verify that the Umami and Postgres DB images are installed:
sudo docker image ls
                                                                            i Info →   U  In Use
IMAGE                                 ID             DISK USAGE   CONTENT SIZE   EXTRA
ghcr.io/umami-software/umami:latest   8edfe4beaef1       1.26GB          295MB
ghcr.io/umputun/remark42:latest       ce499d39502b        130MB         33.1MB    U
hello-world:latest                    96498ffd522e       21.8kB         9.49kB    U
postgres:15-alpine                    f2255d9d4992        415MB          116MB
Start the Umami and Postgres Containers
You can start your Umami and DB containers by doing:
sudo docker compose up -d
[+] up 4/4
 ✔ Network umami      Created                                0.0s
 ✔ Volume umami-db    Created                                0.0s
 ✔ Container umami_db Healthy                                5.8s
 ✔ Container umami    Started                                5.9s
The first time when you run this command, the persistent volume, umami-db, is created. You can verify that Umami is running:
sudo docker ps
CONTAINER ID   IMAGE                                 COMMAND                  CREATED         STATUS                   PORTS                      NAMES
d386f0b563af   ghcr.io/umami-software/umami:latest   "docker-entrypoint.s…"   2 minutes ago   Up 2 minutes (healthy)   127.0.0.1:3000->3000/tcp   umami
1c23f0be77be   postgres:15-alpine                    "docker-entrypoint.s…"   2 minutes ago   Up 2 minutes (healthy)   5432/tcp                   umami_db
3adec8a8c60e   ghcr.io/umputun/remark42:latest       "/init.sh /srv/remar…"   5 days ago      Up 5 days (healthy)      127.0.0.1:8080->8080/tcp   remark42
You will see all your running docker containers. You want to verify that the STATUS is “healthy”. You can also run this curl command:
curl http://127.0.0.1:3000
<!DOCTYPE html><html lang="en" class="inter_2fe1ab3d-module__-T-KAq__className o  o o
o o o o ...
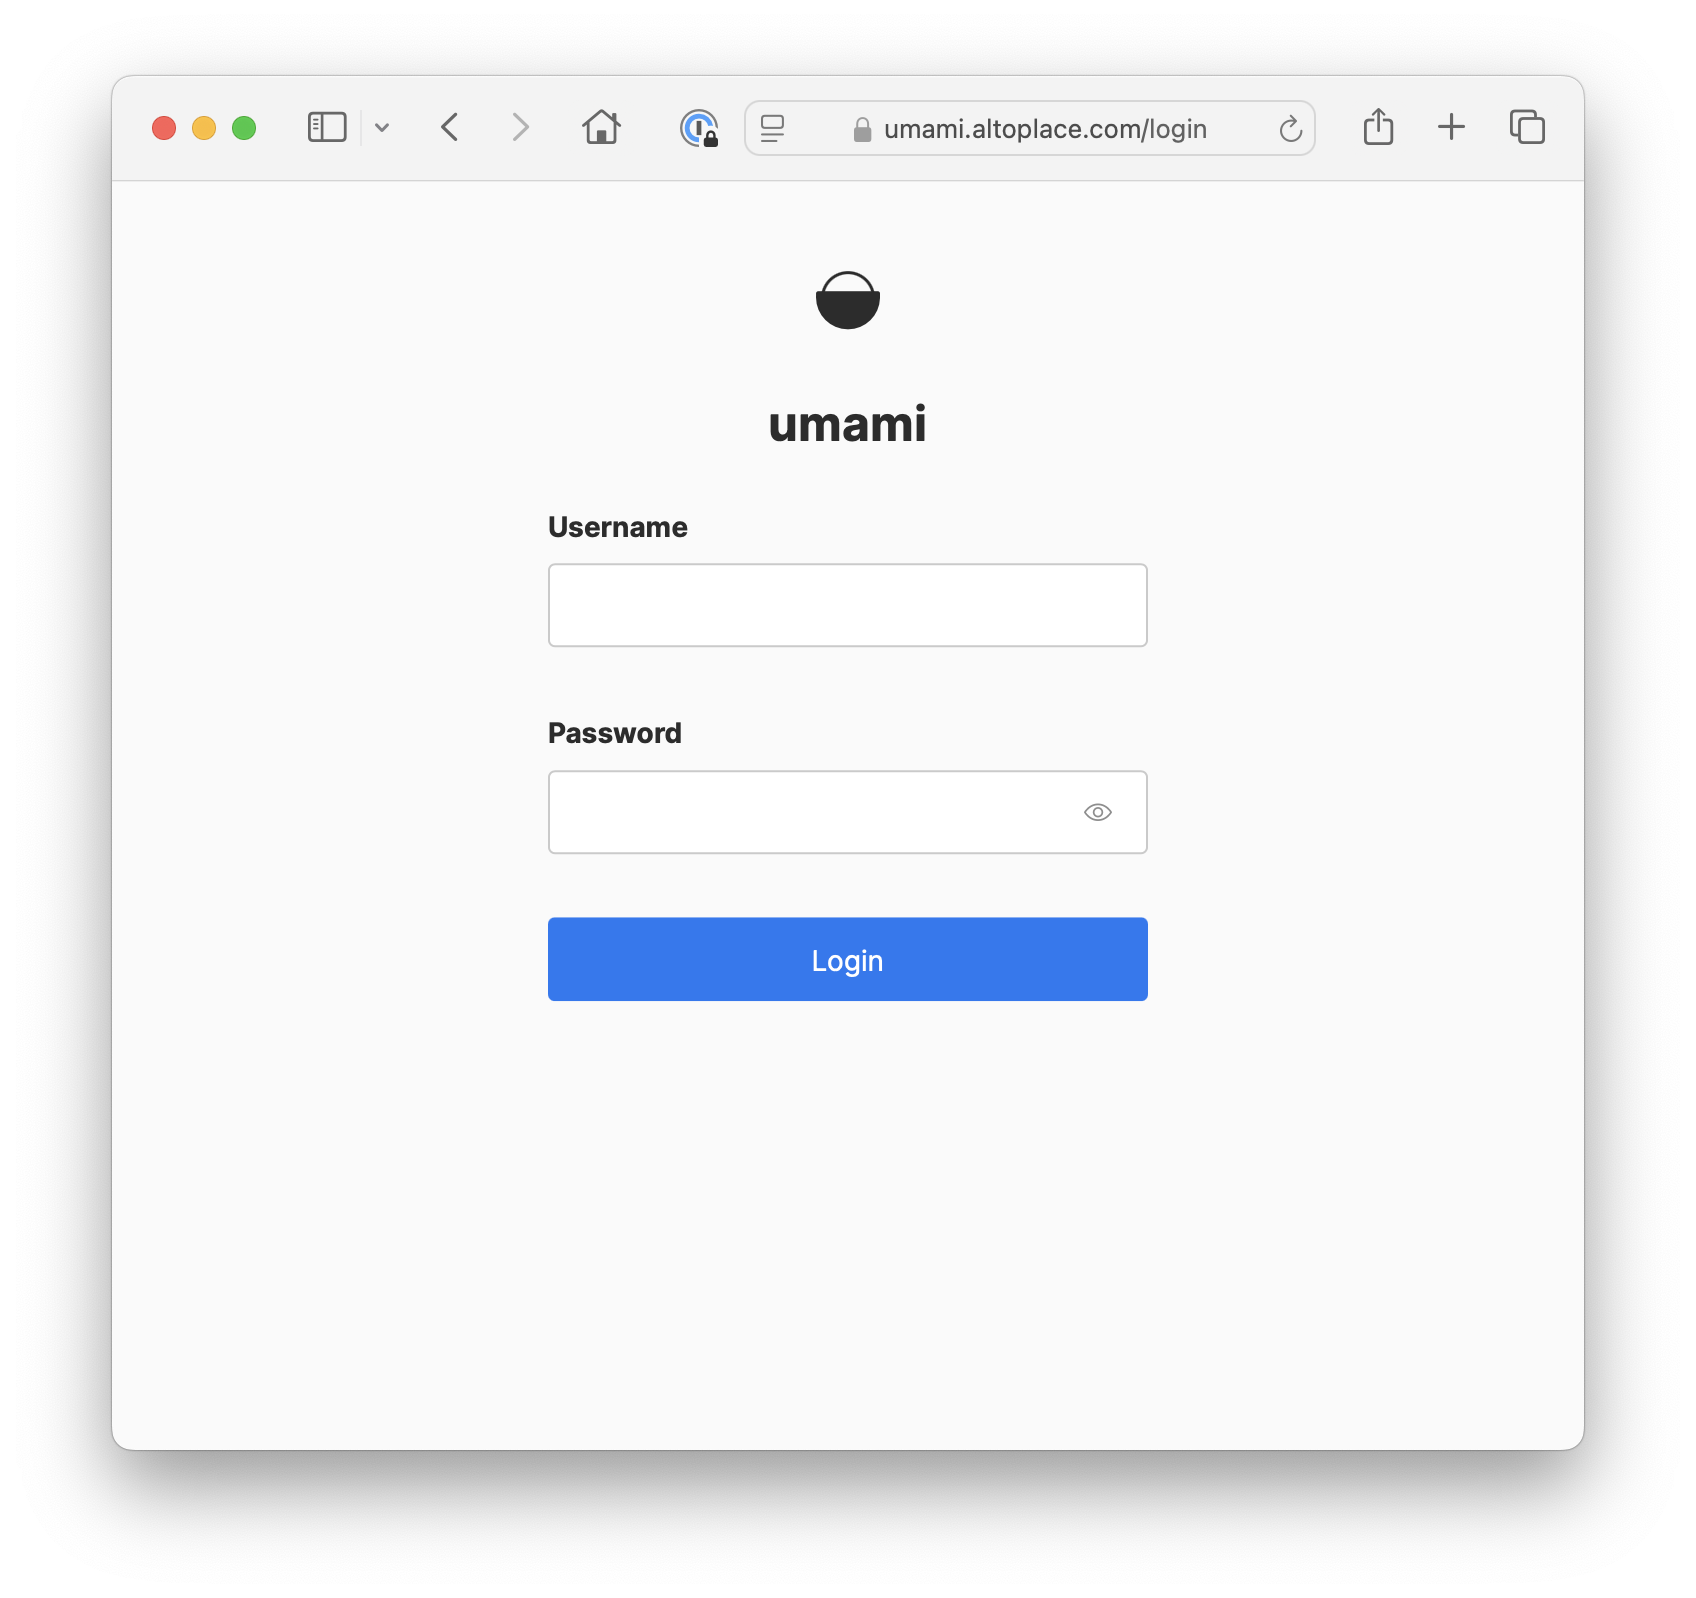
You should see a page full of html output. Or just bring up your Umami site, e.g., https://umami.example.com , in your web browser; you should see the Umami login page:
You should be able to login with the admin username and the umami password. The first thing that you will want to do is to update the password to a long random string:
pwgen -s 24 1
Q3TcAGh997StsmE5gnjG4cko
You can update the password in the admin user profile (click on the admin user at the lower left side of the screen, click on Admin, click on the three dots at the right, and then click on Edit). Even better, click on admin/Admin and create a new user with the Administrator role. Then log out and then log back in with the new user, and then delete the admin user. That way, just like in WordPress, you will not have folks trying to login with the admin user.
You can use the docker stop/start commands to stop and start your umami and postgres containers. You will need to do so if you make any changes to your Docker configuration.
Integrate Umami Analytics with Your Hugo Site
Exactly how you do that will depend on which Hugo theme you are using. Some themes may already support Umami? No matter which theme you are using, you will need to add your site to Umami. Are you still logged in? Click on Websites on the left side and click on “Add website”. Enter a name for the website, “Example”; enter the domain name, “example.com”; and then save it. You should see your site listed. Click on your site name to view your stats. Of course, you don’t have any yet to view.
Now, click on “Edit” to view your Website ID, which you will need for integrating Umami with Hugo. The “Tracking code” is the code that you need to add to your Hugo site, just before your closing </head> tag. How you do this will depend the Hugo theme that you are using. Once you have added the tracking code, republish your Hugo site and Umami should start tracking your visitors (including yourself). Once you are satisfied that Umami is working, you can
exclude your own visits
.
Updating Umami
When you log into your Umami instance, you will be notified when an update is available.
To apply the update, you will need to pull down the updated image, stop the Umami and Postgres containers, remove the containers, create and start up new containers with the updated image. Here is an update example:
# cd to the Umami docker compose directory

# Pull down the updated Docker Image
$ docker pull docker.umami.is/umami-software/umami:postgresql-latest
postgresql-latest: Pulling from umami-software/umami
38a8310d387e: Already exists
1b970ccead88: Already exists
e27d76322248: Already exists
fdd316e9b466: Already exists
6001013cfc05: Pull complete
1339426bfcb9: Pull complete
728bcc4d3ae2: Pull complete
58b6944d23da: Pull complete
ff2b8f6891d5: Pull complete
38c0ca366fdf: Pull complete
4bb47f2dc4f2: Pull complete
5e0db11f8854: Pull complete
c3a8a761e237: Pull complete
17419da1df7c: Pull complete
f2185f37e1a4: Pull complete
Digest: sha256:b96ff776b0e1dfafb3c366a92119b1a72a656c9c20006d47e07df9dbbffe9331
Status: Downloaded newer image for docker.umami.is/umami-software/umami:postgresql-latest
docker.umami.is/umami-software/umami:postgresql-latest

# Get the Umami and Postgres container IDs with "docker ps"
# Then, stop the running Containers
$ docker stop 1945832cb08f 7433b9790c8e
1945832cb08f
7433b9790c8e

# Remove the containers
$ docker rm 1945832cb08f 7433b9790c8e
1945832cb08f
7433b9790c8e

# Start the new Umami containters
$ docker compose up -d
[+] Running 2/2
 ✔ Container postgres  Healthy		       38.6s
 ✔ Container umami     Started		       31.2s
You can use docker ps to verify that your updated containers are running. Log into your Umami instance and click on the User Icon at the top right. At the bottom right of the popup box, you should see that you are running the updated version.
Privacy
Umami is designed to be private. It never collects any personal information. It does not use any cookies, all visitor data is anonymized, and all Umami data is under my self-hosted control and never shared.
Final Thoughts
Now I can keep track of the posts that folks are reading. The self-hosted Umami solution is a good fit for me because my website is a retirement hobby and I need to closely watch my expenses. The Docker installation was very easy to configure. I am still reviewing the Umami documentation to learn how to get the full potential out of Umami. Please feel free to leave a comment or question; I will try to help if I can.